How to Train a Flux LoRa - Ideal for Realistic Headshots
Introduction
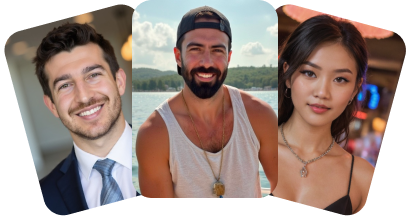
Training a Flux 1 LoRa (Low-Rank Adaptation) model is the fastest and easiest way to customize AI-generated images to your specific needs. While this guide focuses on creating realistic headshots, it's important to note that you can train a LoRa on virtually anything you want - from specific artistic styles and objects to unique characters or environments. Whether you're aiming to generate portraits, replicate a particular art style, or create consistent images of specific objects or scenes, LoRa training offers a versatile solution.
This comprehensive guide will walk you through the process of setting up and training a custom Flux LoRa model on BasedLabs AI, allowing you to create high-quality, personalized images. By following these steps, you'll learn how to effectively use AI to generate images that align perfectly with your creative vision or practical needs.
Important Note: Training a LoRa model requires 100 credits. Please ensure you have at least 100 credits in your account before starting the training process.
Step-by-Step Guide
1. Account Setup
- Log in or create an account on basedlabs.ai
- Ensure you have at least 100 credits in your account for LoRa training
2. Navigate to the Generate Page
- Click the "Generate" button on the main interface
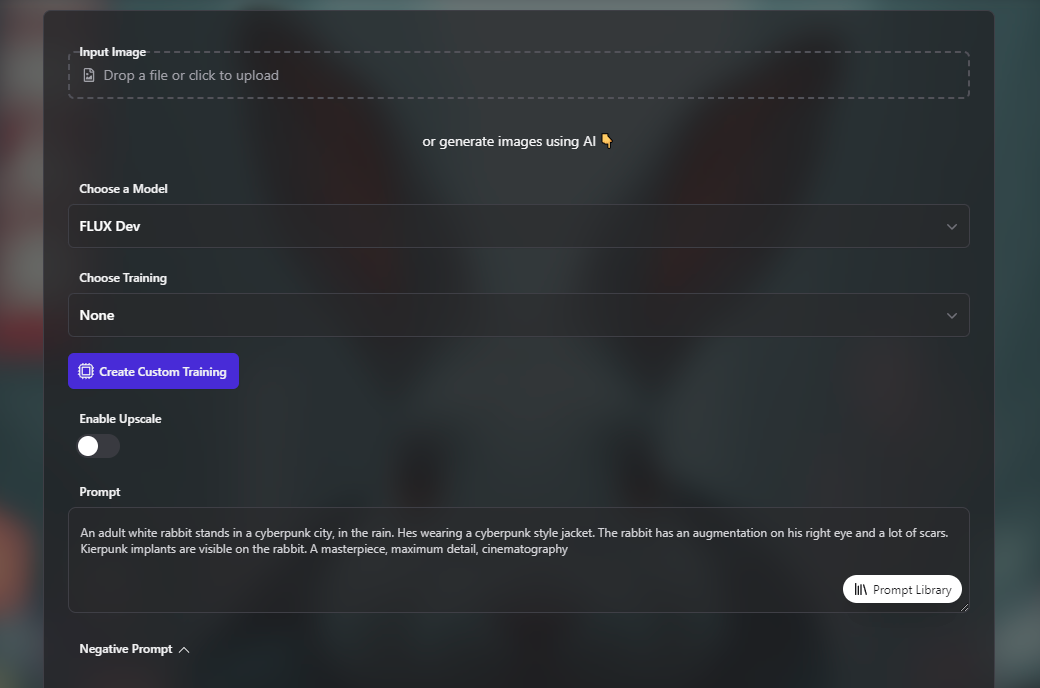
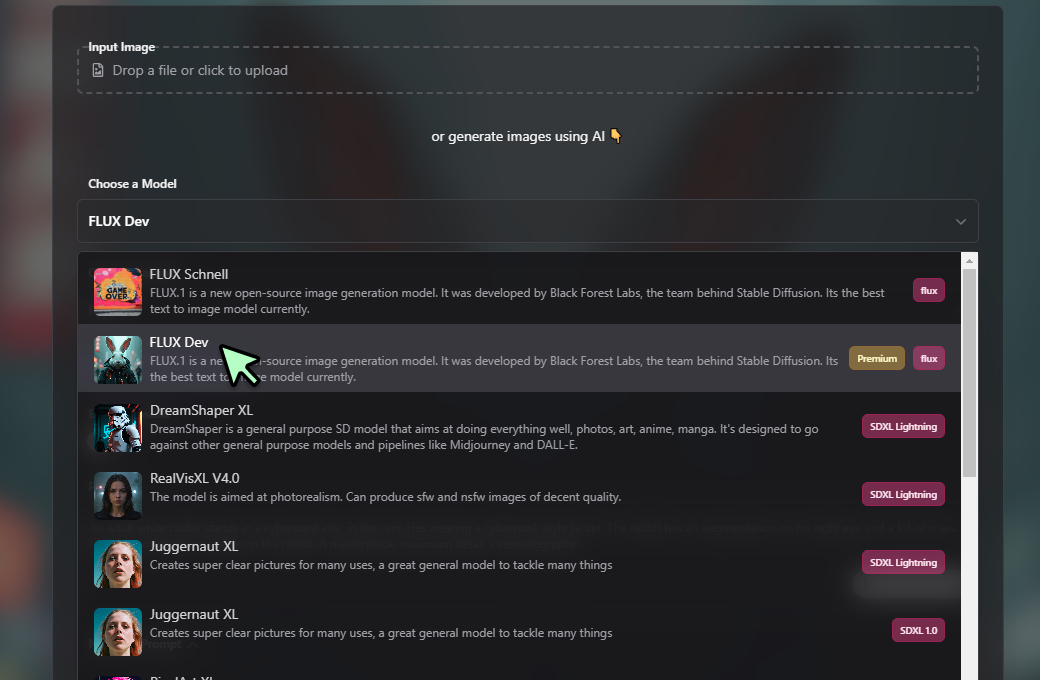
3. Select the Flux Dev Model
- In the "Choose a Model" dropdown menu, select "FLUX Dev"
- Note: As of this article going live, BasedLabs only has LoRa support for the Flux Dev model.
4. Create Custom Training
- Click the "Create Custom Training" button, which is displayed in purple in the interface
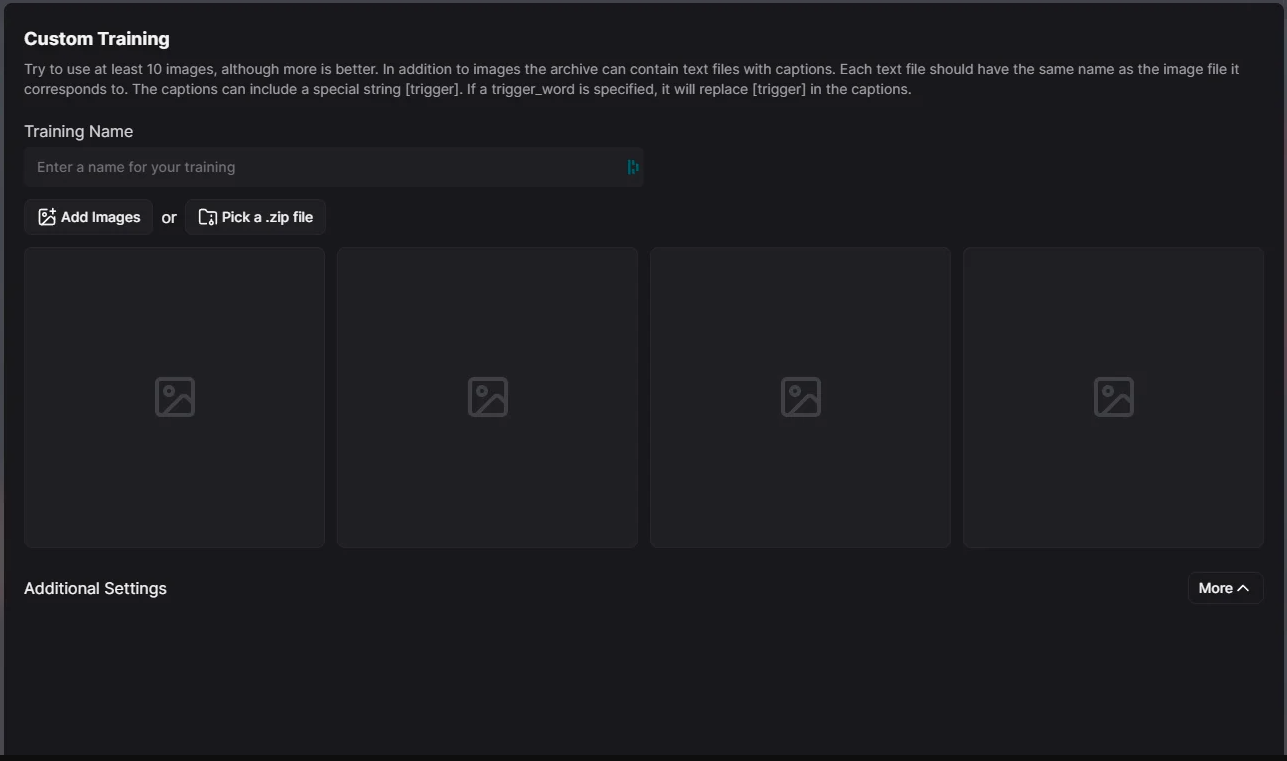
5. Custom Training Setup
- You'll be presented with a new interface for custom training
- Read the instructions carefully: Try to use at least 5-10 images, although more is better. The sweet spot is around 15-20 images.
6. Name Your Training
- Enter a name for your training in the "Training Name" field
7. Add Training Images
- Choose one of two options: a. Click "Add Images" to upload individual image files b. Click "Pick a .zip file" to upload a zip archive containing multiple images and optional caption text files
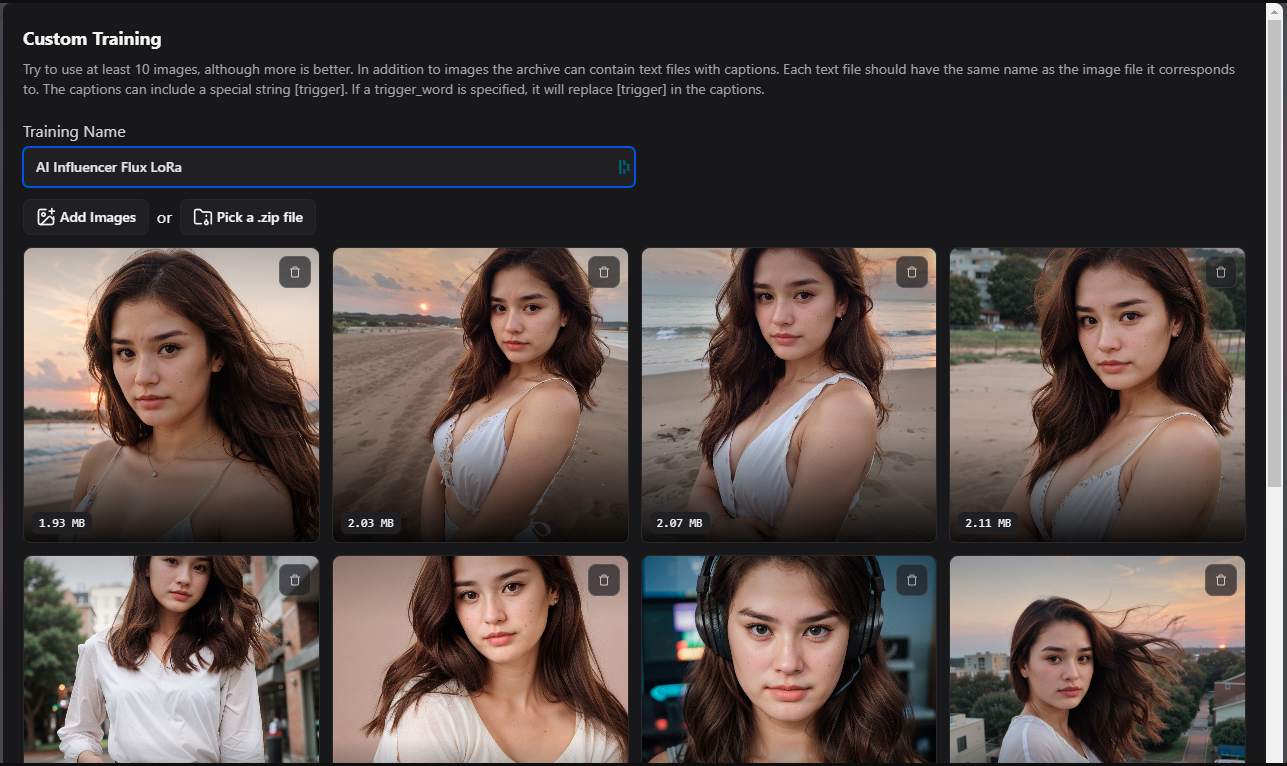
8. Upload Images
- For best results, upload 10 or more high-quality images
- Ensure the images are clear and representative of the style you want to achieve
9. Configure Additional Settings
- Click the "More" button to view the additional settings
- This section allows you to adjust the advanced settings and set a Trigger Word
10. Start Training
- Once you've added your images and configured any additional settings, click the "Start" button to begin the training process
- You will be redirected to a page where you can view your trainings progress, and also manage your trainings.
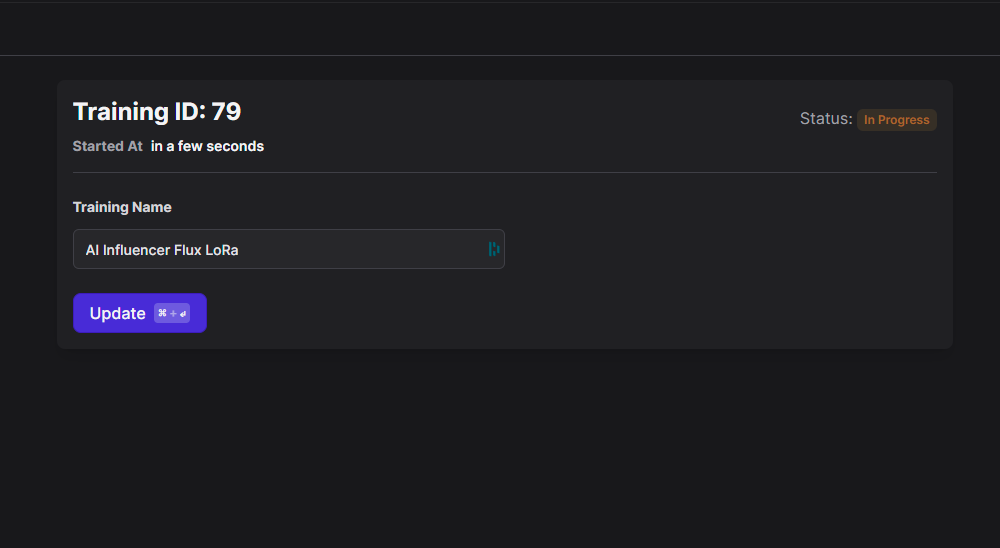
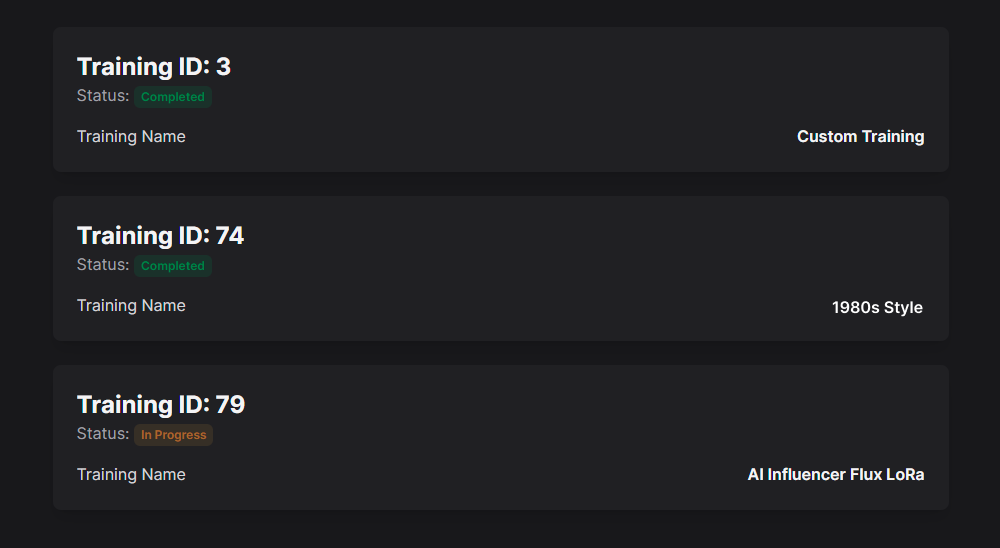
11. Monitor Training Progress
- On the training page, you'll see information about your training session, including:
- Training ID
- Status (e.g., "In Progress", "Completed")
- Start time
- Training Name
- The training process typically takes between 2 to 10 minutes to complete
- You can update the training name if desired by editing the "Training Name" field and clicking the "Update" button
12. Wait for Training Completion
- Once the status changes to "Completed", your custom Flux LoRa model is ready to use
13. Generate Images with Your Custom Model
- Navigate back to the main generation page (basedlabs.ai/generate)
- In the "Choose a Model" dropdown, select "FLUX Dev"
- In the "Choose Training" dropdown, you should now see your recently completed training
- Select your custom training from the dropdown

14. Create Your Flux Prompt
- In the "Prompt" field, enter a description of the image you want to generate
- You can use the "Prompt Library" feature for inspiration or to help structure your prompt
- Ensure that you add your keyword trigger into the prompt if you set one in training.
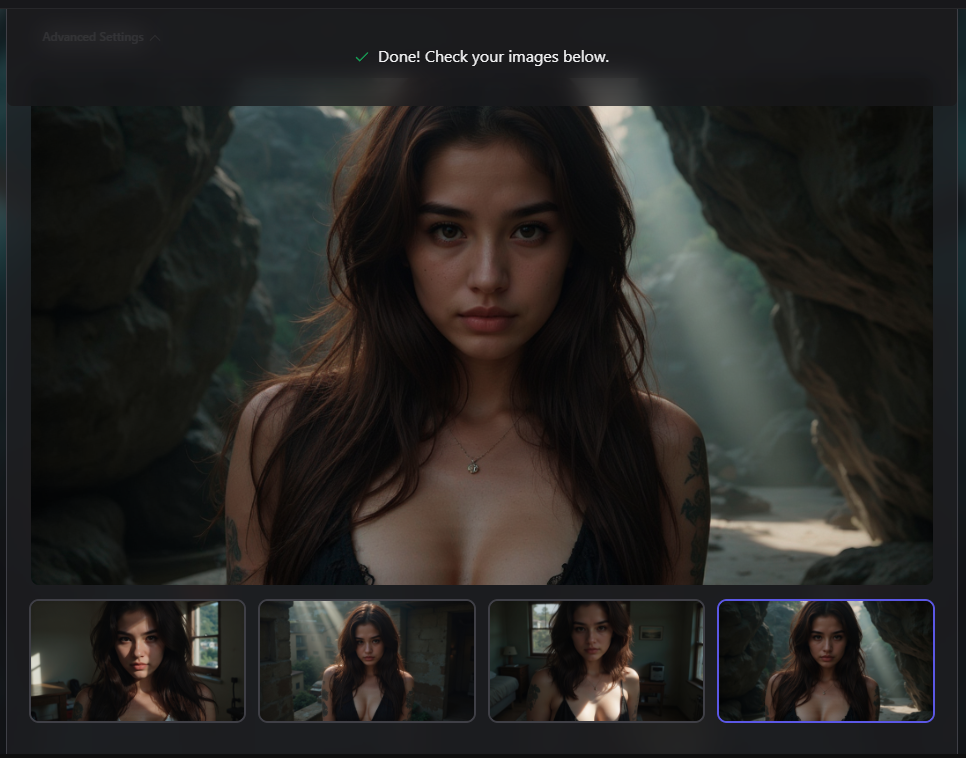
15. Generate Images
- Click the "Generate Images" button to create images using your custom-trained Flux LoRa model
Conclusion
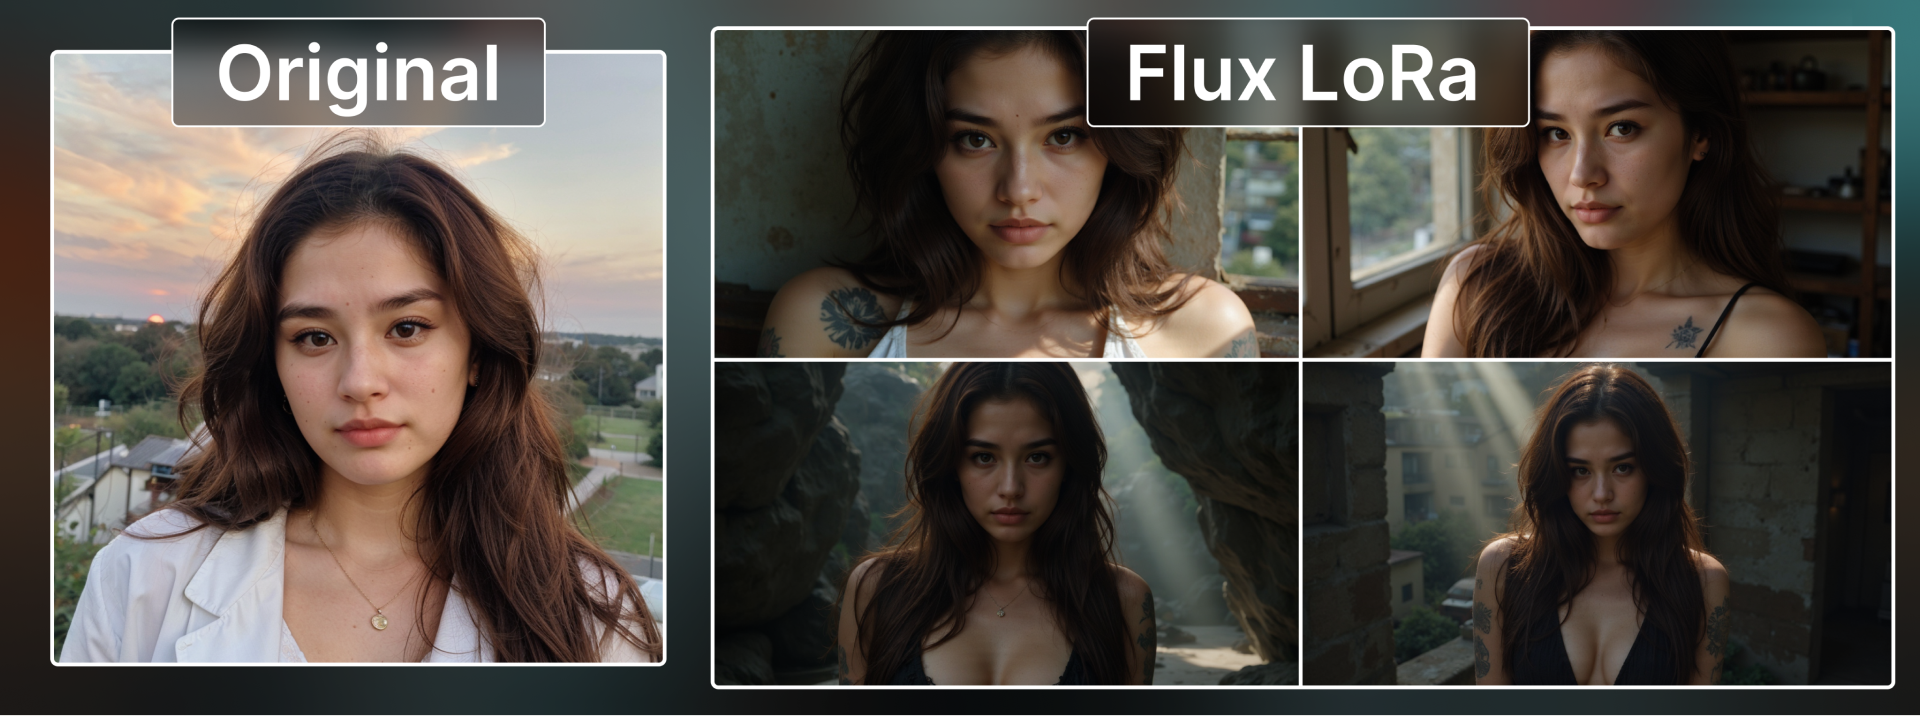
Congratulations! You've now trained a custom Flux LoRa model and learned how to generate images with it. While we focused on headshots, remember that this process can be applied to any style, object, or concept you wish to explore.
The quality of your results depends on your training data and prompts. Experiment with different images and prompts to unlock the full potential of your model. Don't hesitate to create multiple LoRa models for various projects - each one expands your creative possibilities.
Keep exploring, refining, and pushing the boundaries of AI-generated imagery. Happy creating!