
Your Complete Guide to Talking Videos
Introduction
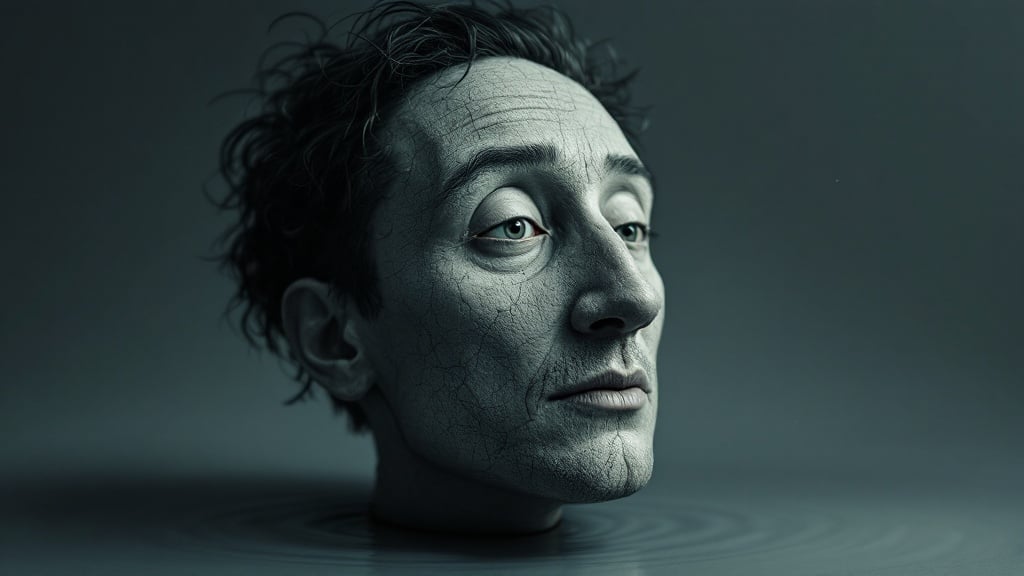
Creating lifelike, engaging videos has never been easier, especially with the AI-powered image generation model FLUX1.1 PRO, which enhances realism in generated visuals. This tool helps you transform text into detailed images and animate those images into talking videos. Whether for a creative project, a professional presentation, or storytelling, this guide provides clear, straightforward steps to help you create professional-looking videos efficiently.
Table of Contents
- Account Setup
- Using the Generate Page
- Animating Your Character
- Tips for Better Results
- Enhancing Your Talking Videos
- Frequently Asked Questions
- Final Thoughts
1. Account Setup
- Log In or Register: Visit basedlabs.ai and log in or create a new account.
- Add Credits: Head to the billing page to add credits to your account.
- Credits Consumed: Each talking video consumes 80 credits.
2. Using the Generate Page
Steps to Create an Image
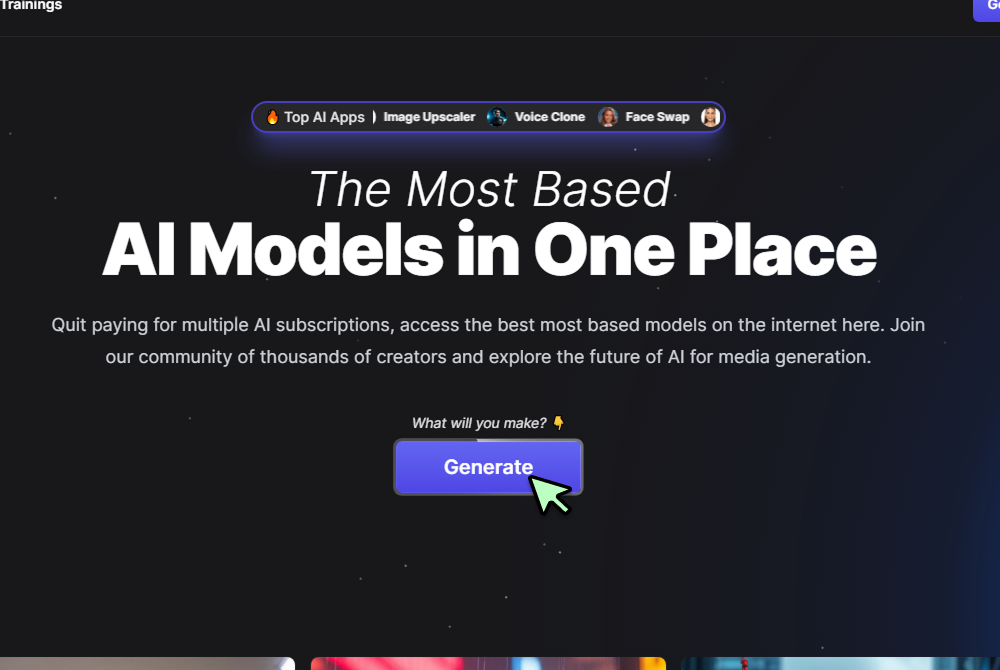
- Access the Generate Page: Click the "Generate" button on the main interface to start a project.
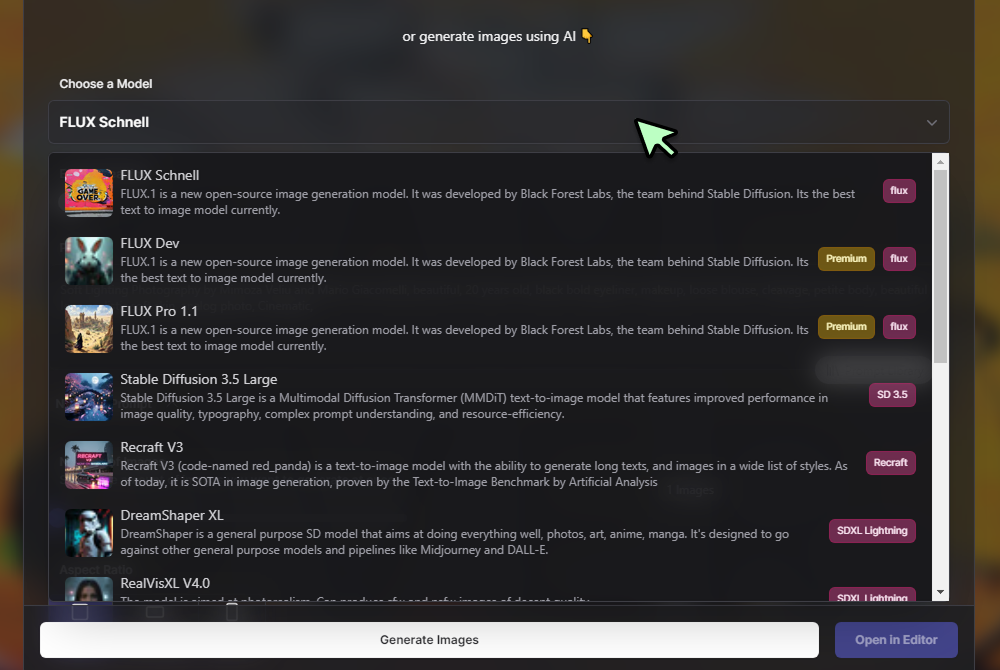
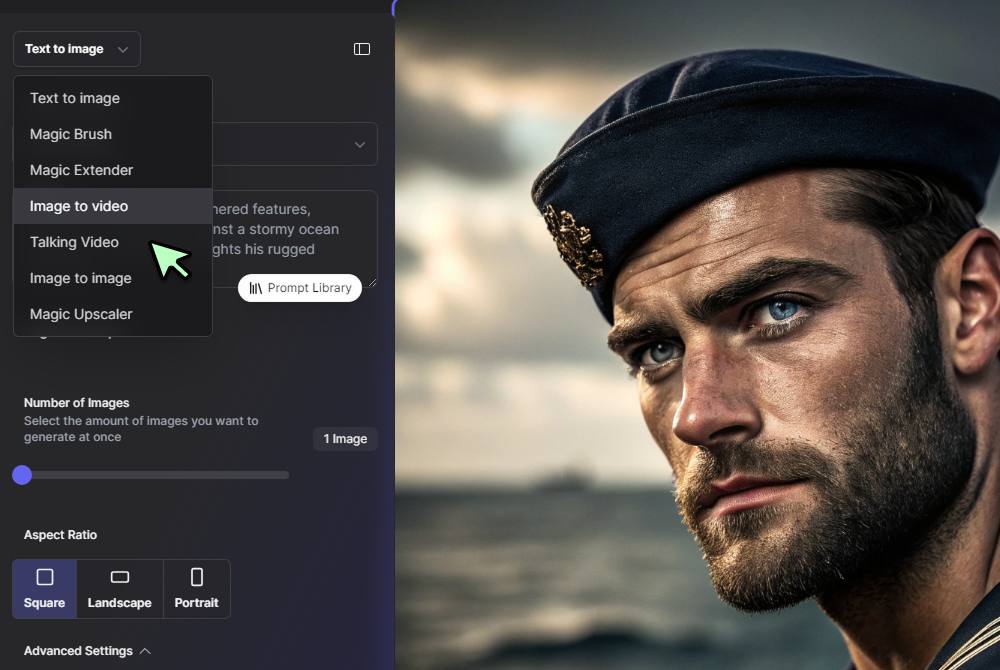
- Select a Model: Choose a model from the dropdown menu that fits your project’s requirements.
-
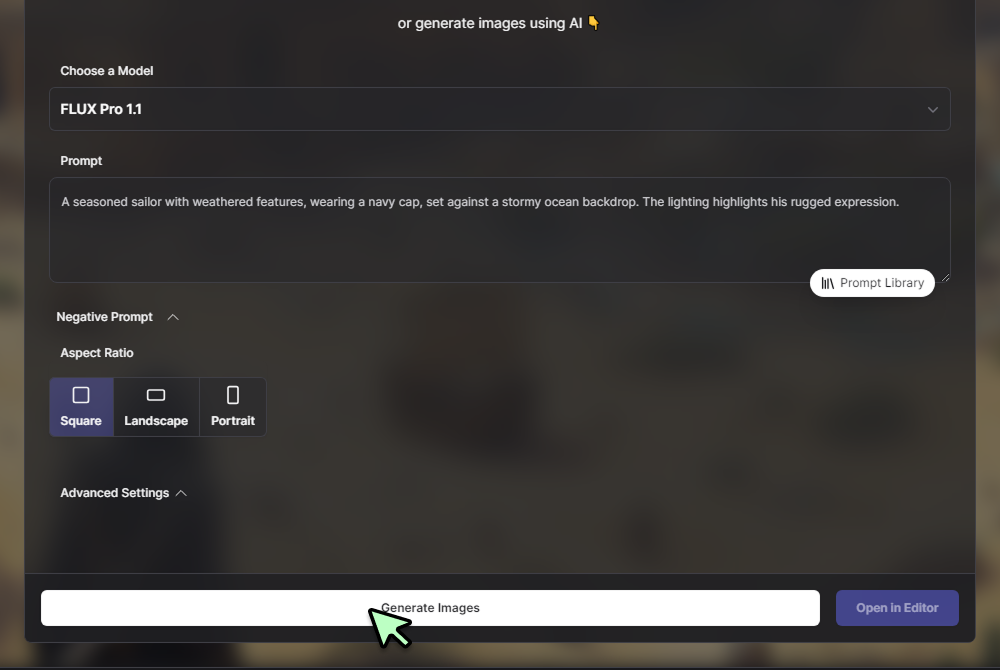
Write a Description: Provide a clear and precise description of your character. For example:
"A seasoned sailor with weathered features, wearing a navy cap, set against a stormy ocean backdrop. The lighting highlights his rugged expression."To get the best possible image results, it's crucial to use well-structured prompts. If you're unsure how to craft effective prompts, check out our guide on Mastering Flux.1 Prompts for expert tips.
-
Choose Dimensions: Select an image size (Square, Landscape, or Portrait) based on your needs.
-
Generate the Image: Click "Generate Images" to create visuals based on your description.
- Review the Results: Check the images and confirm they meet your expectations.
- Regenerate if Needed: If the results aren’t satisfactory, click "Generate Images" again for another set.
- Proceed to Animation: Once you find an image you like, click "Open in Editor" to move to the next step.
3. Animating Your Character
Steps to Generate a Talking Video
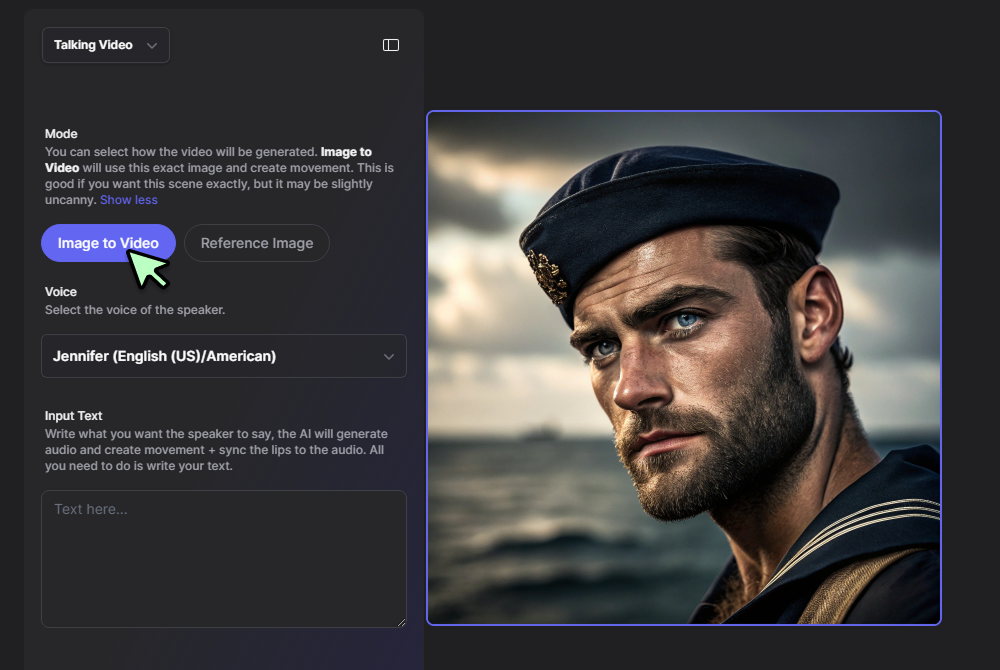
- Select the Talking Video Option: In the editor, choose "Talking Video" from the menu.
- Select the Mode: Select the Model of your choice
 \
\
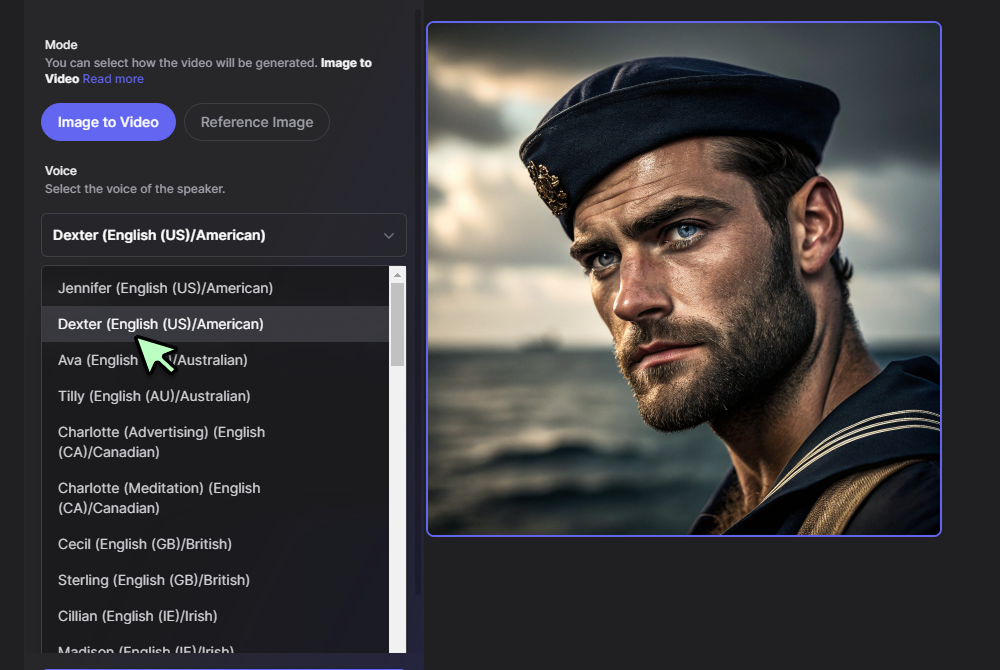
- Select the Voice: Select the Voice of the Speaker.
- Input Text: Enter the dialogue or monologue you want your character to deliver. For example:
"This storm is nothing compared to what I’ve faced. Every scar on my face tells a story of resilience and strength." - Generate the Video: Click "Make Talking Video" to start the animation process.
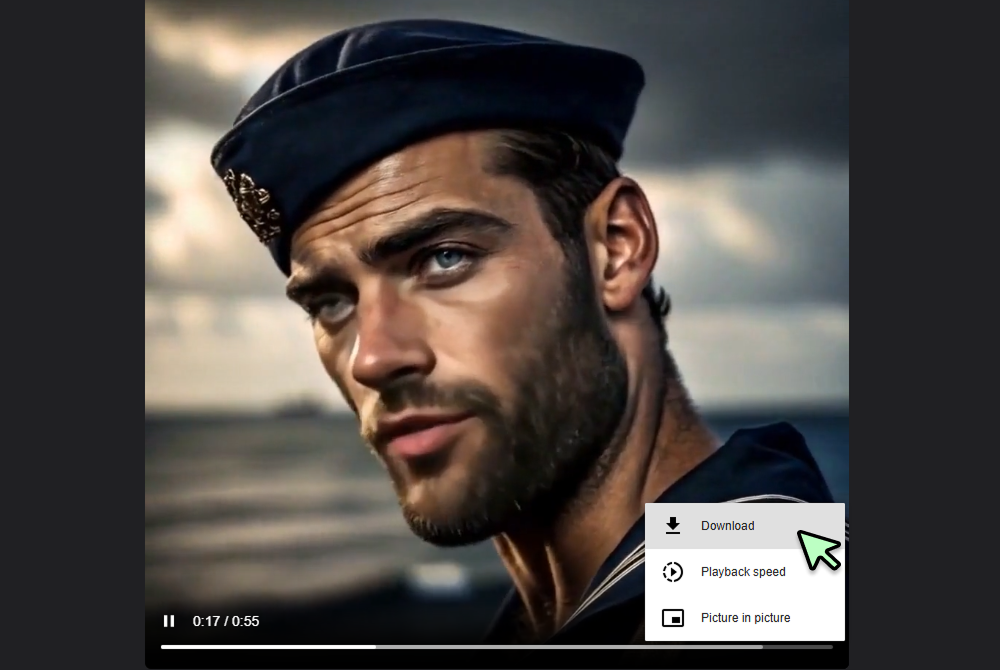
- Preview the Result: Watch the video to confirm that the animation, voice, and script are synchronized properly.
- Download the Final Video: Use the download option in the preview window to save your work.
4. Tips for Better Results
- Provide Detailed Descriptions: Use specific prompts for more accurate image generation.
- Use Concise Scripts: Short, engaging scripts improve the overall impact of your video.
- Test Voice Options: Try different voice styles to find one that fits your character.
- Iterate When Needed: Don’t hesitate to regenerate images or videos until you’re satisfied.
- Pay Attention to Details: Adjust lighting, expressions, and other elements to enhance realism.
If you're looking for even greater control over your generated visuals, you might want to consider training a Flux LoRa model, which allows for custom fine-tuning.
5. Enhancing Your Talking Videos
Once you have generated a talking video, you can refine it further with additional enhancements. Here are some key ways to improve your final output:
Adding Backgrounds and Overlays
-
Use editing software like Adobe Premiere Pro, DaVinci Resolve, or CapCut to add dynamic backgrounds.
-
Overlay text, subtitles, or graphics to make your video more informative.
-
Add branding elements such as logos or watermarks for professional use.
Enhancing Audio Quality
-
Clean up background noise using tools like Audacity or AI-based noise reduction software.
-
Adjust pitch and tone for a more natural-sounding voice.
-
Add background music or sound effects to improve engagement.
Optimizing for Social Media & Marketing
-
Resize your video for different platforms (square for Instagram, vertical for TikTok, widescreen for YouTube).
-
Add captions to make the video accessible and more engaging.
-
Use engaging thumbnails to boost click-through rates when sharing online.
6. Frequently Asked Questions
General Information
-
What can this tool do?
It allows you to create talking character videos by combining text-to-image generation with animation. -
How do I create the best prompt?
Focus on specific details like facial features, lighting, mood, and background to guide the AI effectively. -
Can I upload my own images?
Yes, you can upload images into the editor to script and animate them.
Technical Information
-
How long does video generation take?
The process typically takes 5-6 minutes, depending on the script complexity and server load. -
Can I choose the character’s voice?
Yes, you can select from multiple voice options to suit your character. -
Is there an option to preview videos?
Yes, the tool allows you to preview videos before finalizing them.
Use Cases
-
Can this tool be used for professional purposes?
Yes, it’s ideal for creating educational content, marketing videos, and stories. -
Can I share or download my videos?
Yes, you can download completed videos and share them across various platforms.
7. Final Thoughts
This guide has provided you with everything you need to create high-quality talking videos. Whether for personal projects or professional use, this tool gives you the flexibility to bring your ideas to life. Experiment, refine, and enjoy creating unique content!